Connect
Finds receivers and dongles nearby. If your model is the only one in range, it connects by itself. Add a photo of each model.
A free, open-source radio control system you can build yourself
A small receiver for models with a flight controller. It carries your sticks to the flight controller, sends telemetry to your transmitter, and lets you set up Rotorflight from your phone.
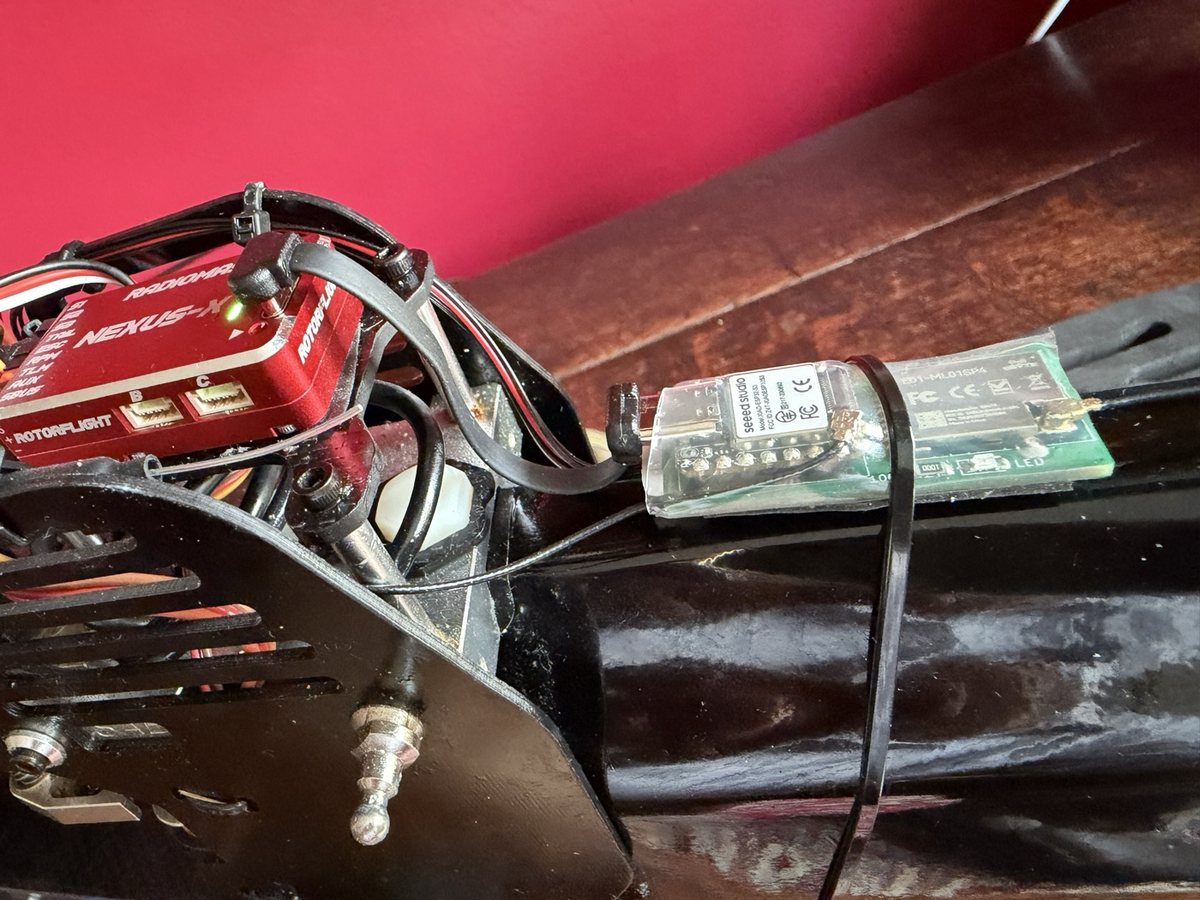
| Version 2 receiver | |
|---|---|
| Brain | Seeed XIAO ESP32-S3: a thumbnail-sized computer with WiFi, Bluetooth and a USB-C socket |
| Radios | 1, 2 or 3 nRF24L01+ modules on 2.4 GHz. Our board carries two Ebyte E01-ML01SP4, which have an amplifier for longer reach |
| Channels | 16, about 2,000 steps each, in 12-bit slots over the air; 11-bit out on CRSF and SBUS |
| Packets | About 500 a second |
| Frequency hopping | About 100 hops a second, across 83 channels. The receiver chooses each hop. |
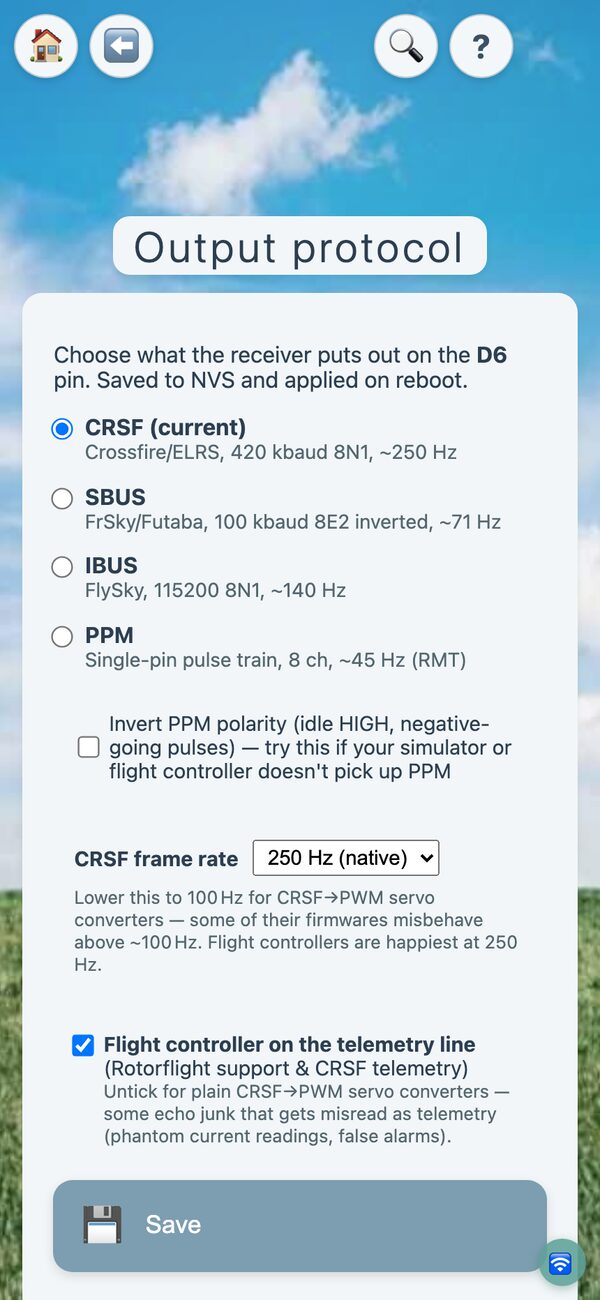
| Output to the flight controller | CRSF (the default), SBUS, IBUS or PPM, on one wire. No PWM servo outputs. |
| Telemetry home | Flight-pack volts, current, capacity used, head speed and ESC temperature |
| Set-up | Free app for iPhone, iPad and Android (Bluetooth); any web browser (WiFi) |
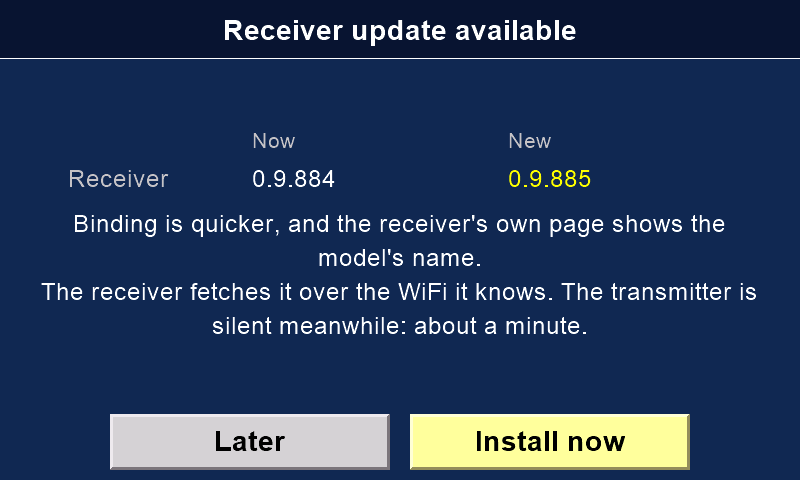
| Updates | Over the air: from the phone, over WiFi, or through a Version 2 transmitter |
| Power | 5 V from the flight controller's port, through the same lead |
| Board size | About 46 × 22 mm (the two-radio board) |
It speaks the same language as our Version 1 receiver, so Version 1 and Version 2 transmitters both fly it.
Note
Every receiver bound to your transmitter listens to it, as on Version 1. Switch on one model at a time.
Range
We have not published a range figure yet. The link is made for line-of-sight club flying, not long-range flights. Always do a range check before the first flight: see Testing before the first flight.
One lead does the flying. Your sticks go to the flight controller; its telemetry comes back. Plug it into the flight controller's receiver port (on a Nexus-X, Port A).
No PWM servo outputs. To drive servos without a flight controller, use the Version 1 receiver or a CRSF-to-PWM converter.
A short USB-C cable from the receiver to the flight controller's own USB socket opens Rotorflight's full set-up channel. With the lead and the cable, the app does almost everything Rotorflight's Configurator does. Only flashing Rotorflight itself needs a computer.
Tip
Buy the shortest cable you can, right-angled at both ends, that carries data. Many short USB-C cables only charge. Ours is a Chenyang CY-UC-088-0.07M (70 mm).
The receiver looks after itself, so you can concentrate on flying.
Safety: blades off
Take the rotor blades off, or unplug the motor, before you change anything in the app.
Free, for iPhone, iPad and Android. No adverts, no accounts, no tracking. It talks to the receiver by Bluetooth, so it works at the field with no network.
Needs iOS 16 or later, or Android 8 or later. On your phone the app is called RXV2. Both versions update themselves.
Finds receivers and dongles nearby. If your model is the only one in range, it connects by itself. Add a photo of each model.
Each connection is recorded: flights, black box and the Rotorflight set-up. Go through a model indoors with everything off. Changes you make there are offered to the model when it next connects. Not found elsewhere
Each model's Rotorflight tune and set-up, every bank, kept on your phone. Ports, LED, GPS and ESC settings are not included. See what is in each one.
The whole app on made-up data: a receiver, a dongle and a simulator interface. Try it before you build anything.
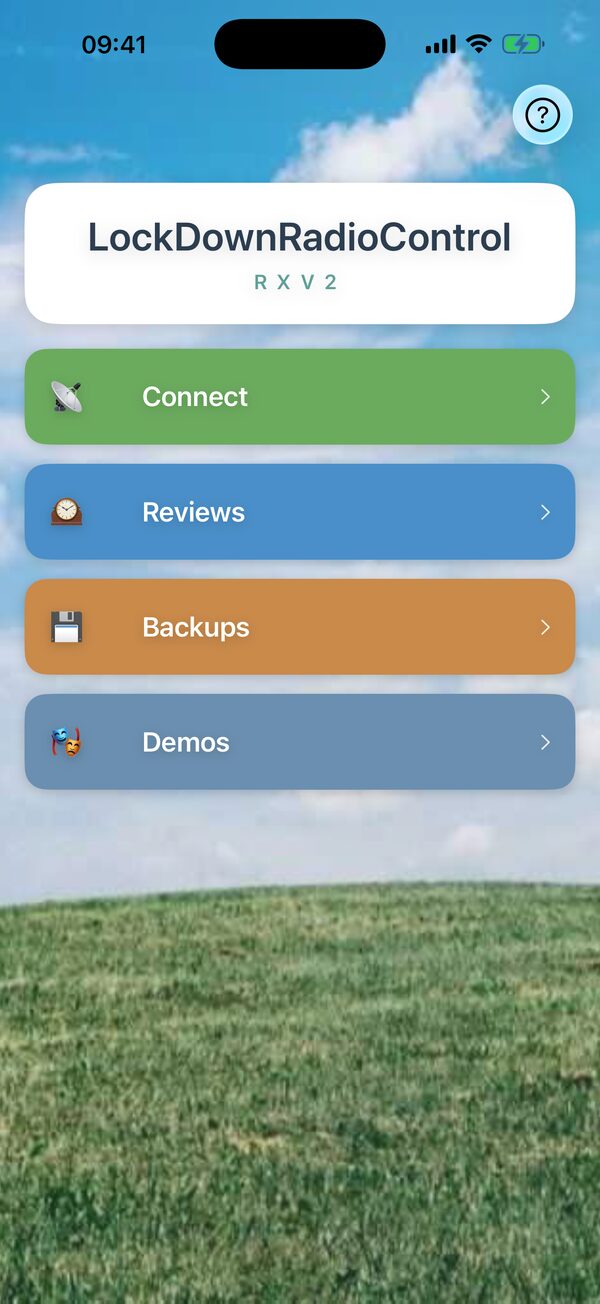
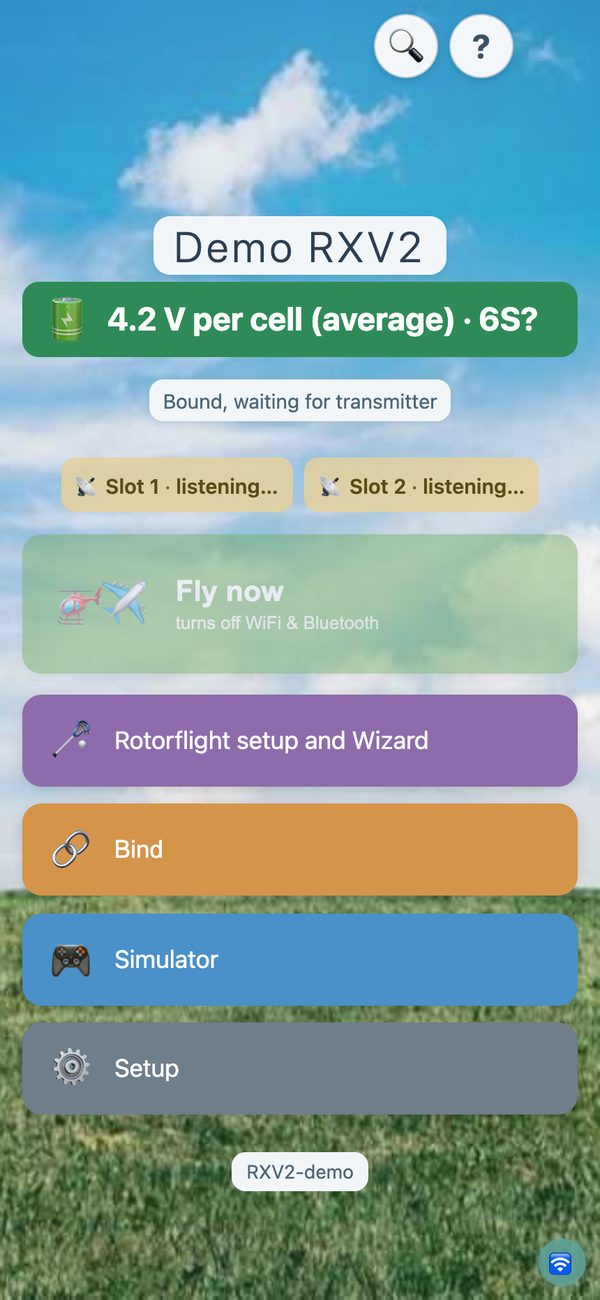
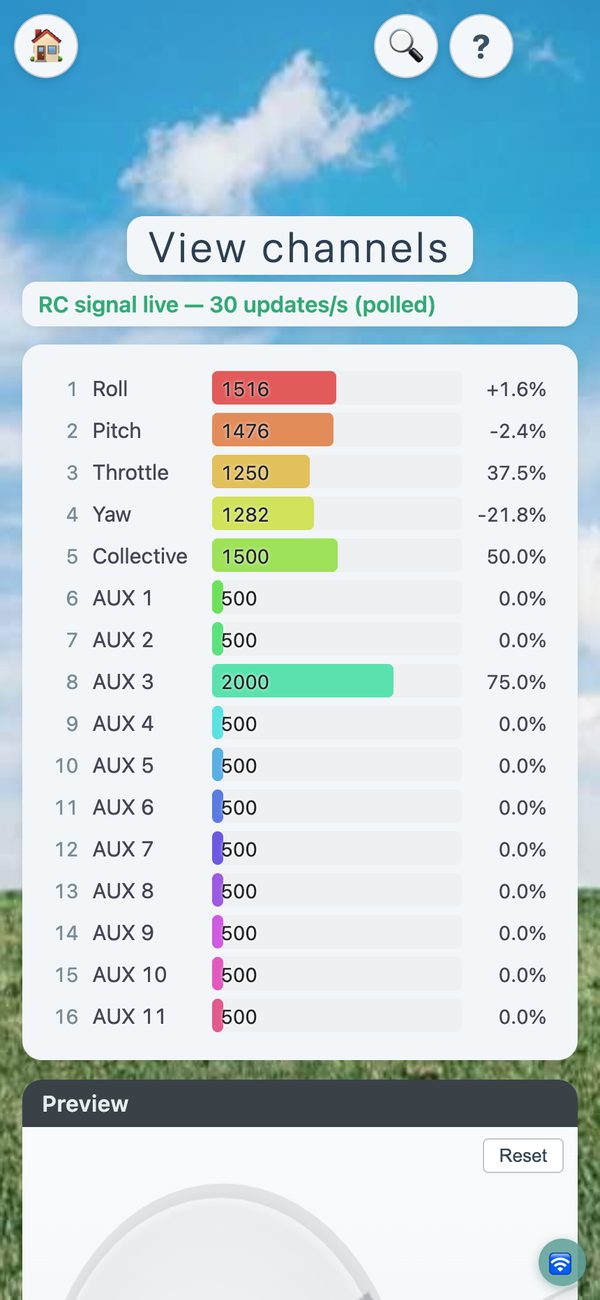

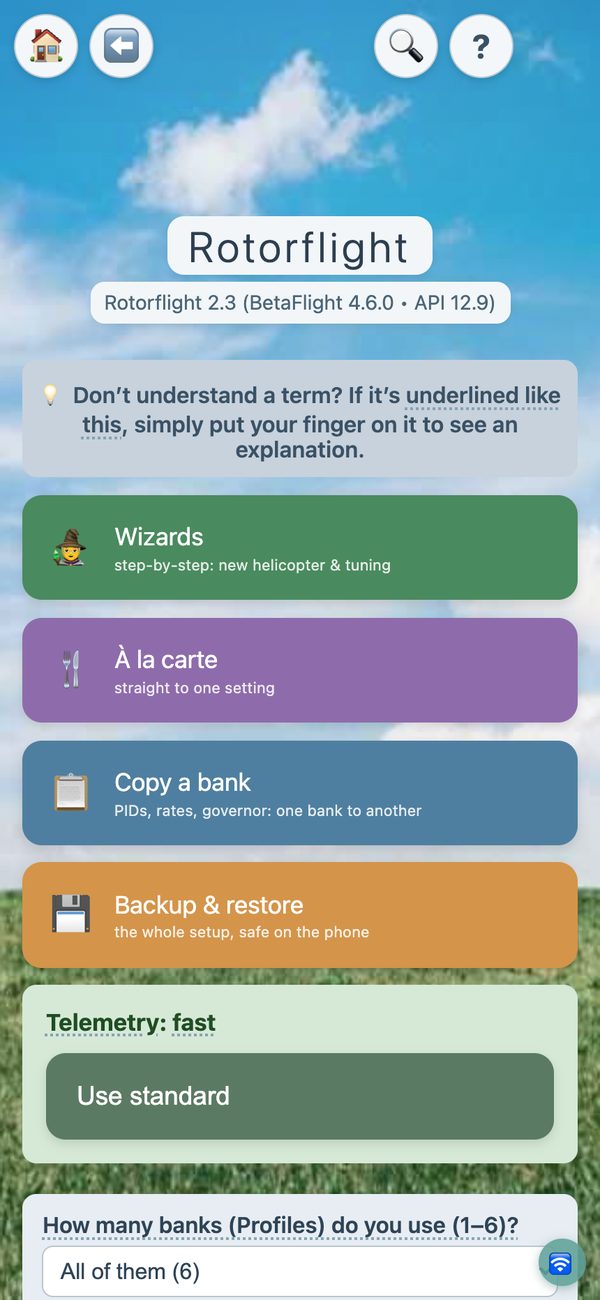
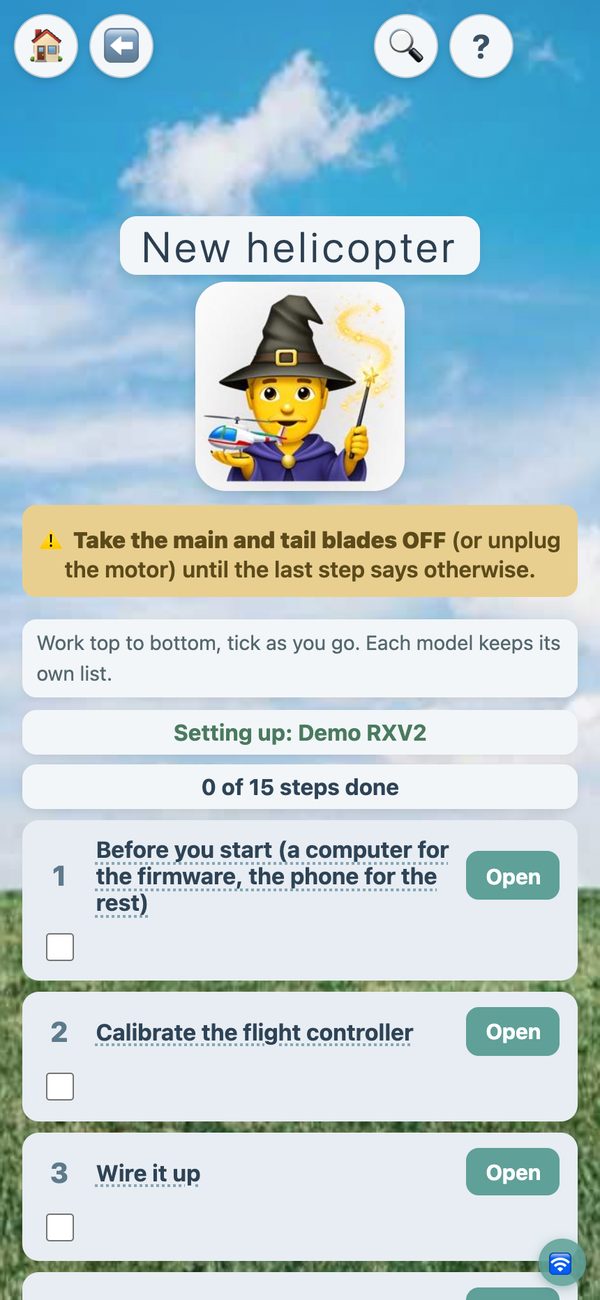
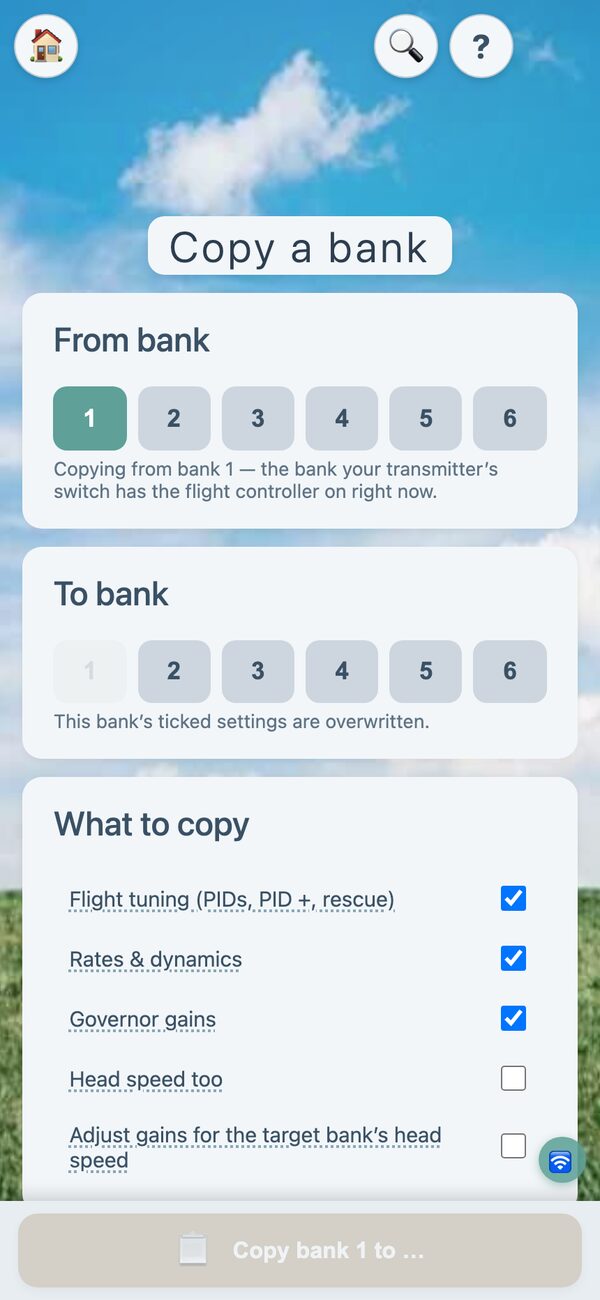
Pictures from the app's demo mode, with made-up numbers.
Rotorflight is an excellent flight controller for helicopters, but setting it up is hard. The app makes it plain: no laptop, and no need to learn Rotorflight's words.


The receiver keeps a record of every flight. You read it on your phone.
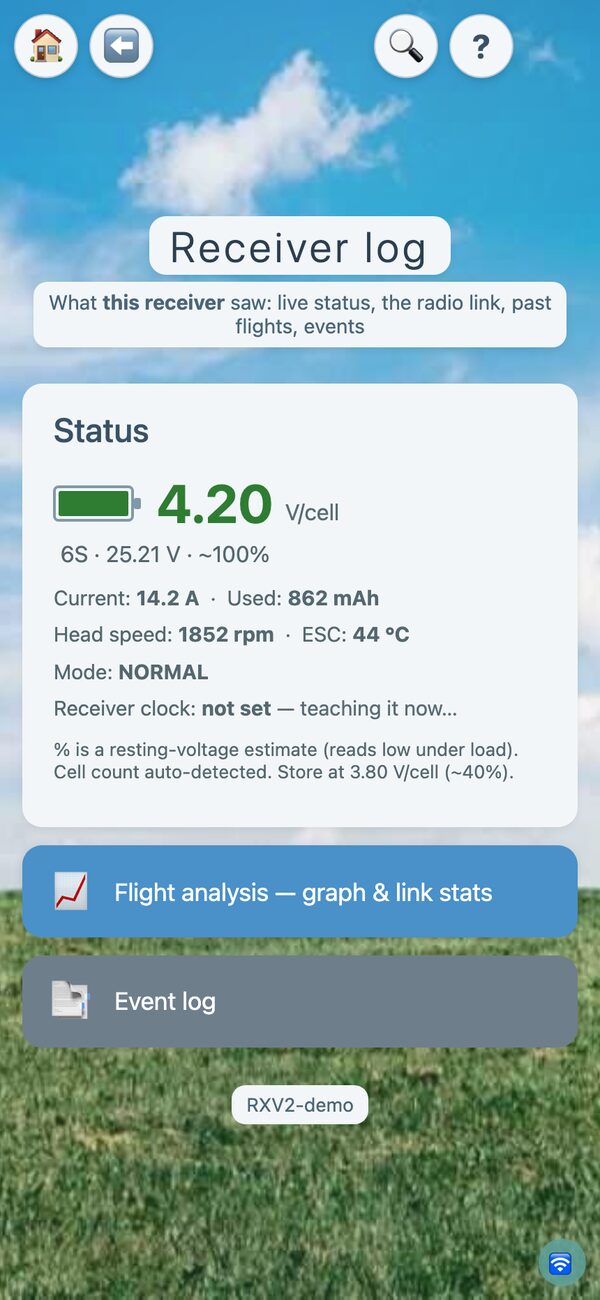
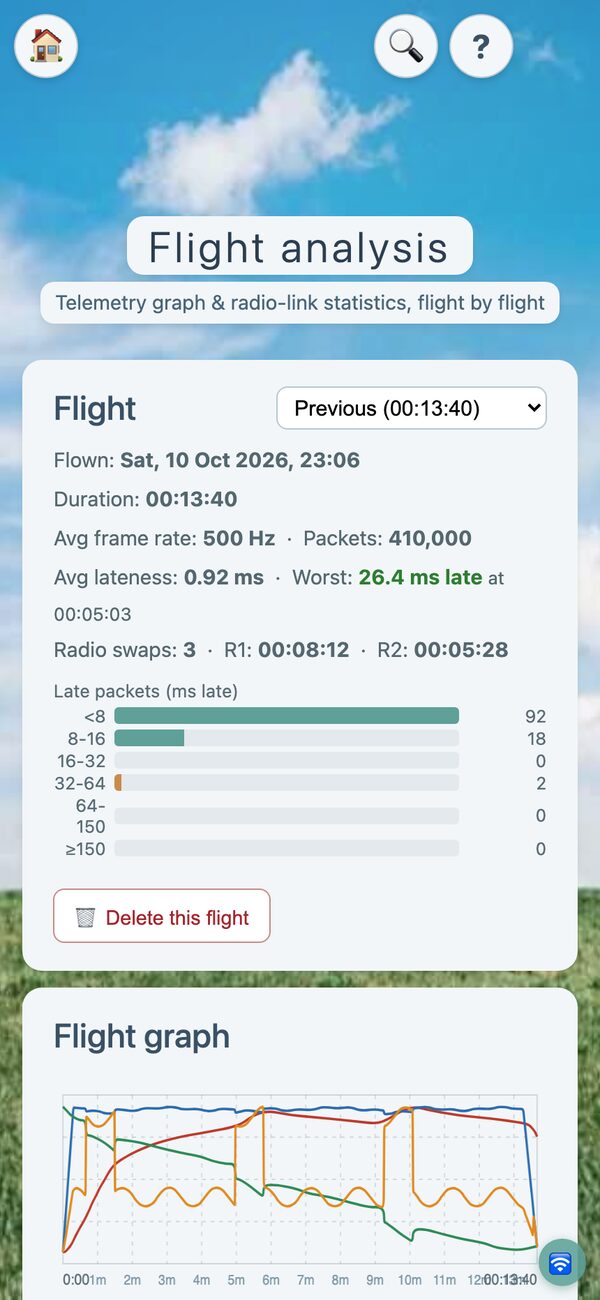
Demo mode: the numbers are made up.
New receiver software is published on this website. Install it in one of three ways:
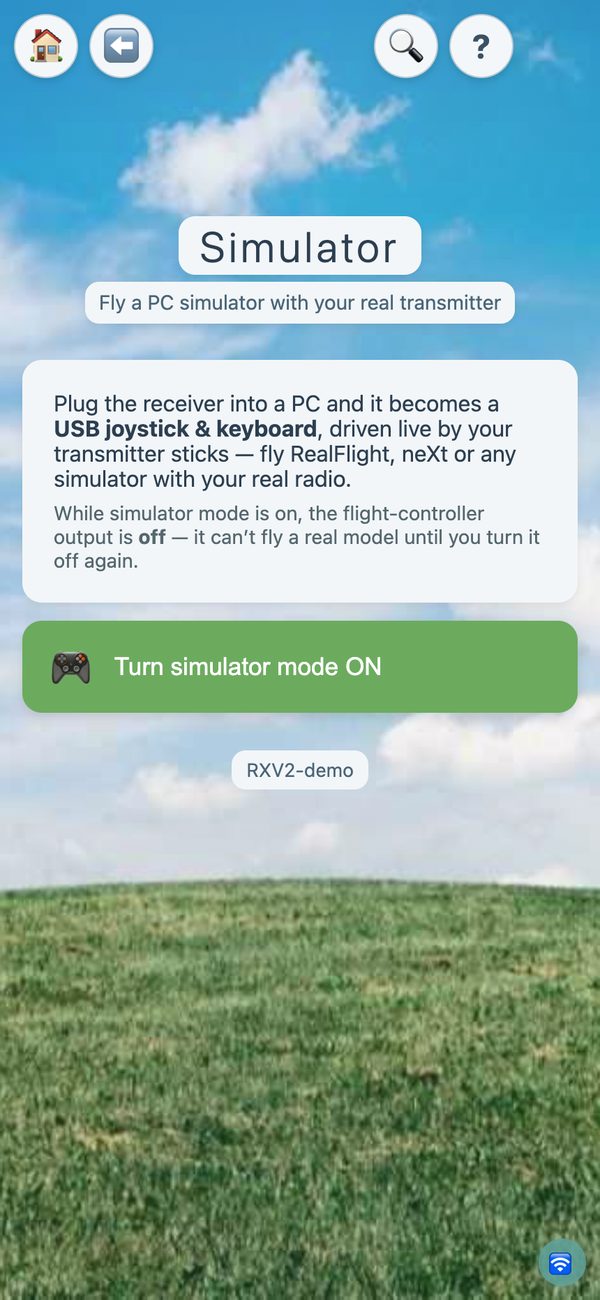
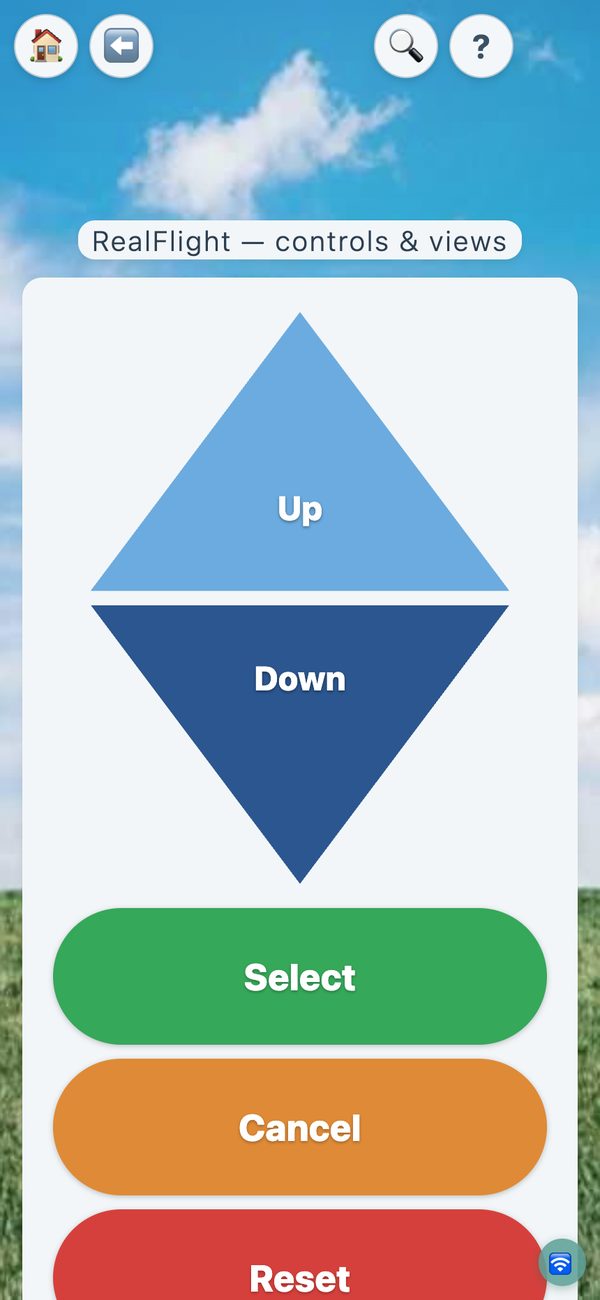
The same receiver flies your simulator. Unplug it from the flight controller first: the computer then powers it. Plug it into the computer by USB and switch it to simulator mode in the app. The computer sees a joystick and a keyboard. You fly RealFlight or neXt with your own transmitter, on Windows or Mac.
Warning
In simulator mode the output to the flight controller is off. Switch simulator mode off before the receiver goes back in a model.

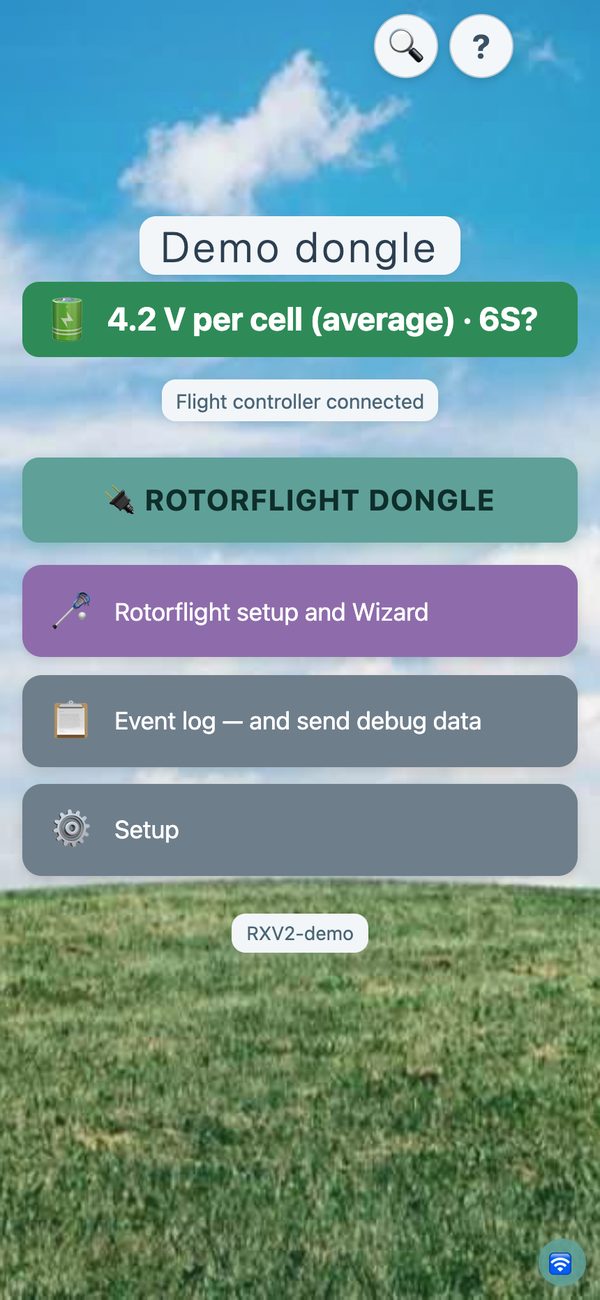
Fly another make of radio? Keep it. The dongle is the same board with no radio modules. Wire it to a spare port on a Rotorflight flight controller and you get the whole app, whatever receiver flies the model.
Warning
Build the dongle with four wires. Do not order the dongle circuit board in the repository: its first batch was wired wrongly and can destroy the chip.
What the receiver does that commercial systems do not, as far as we know.
And it can change when a need appears. Its author often adds a feature within a day of a pilot asking, and the code and the board are open, so you can change it yourself. Commercial systems are almost always take it or leave it.
| Feature | LockDownRadioControl receiver | Commercial systems (ExpressLRS, FrSky, Spektrum, VBar) |
|---|---|---|
| Set up Rotorflight from an iPhone or iPad | YesAndroid too. Built into the receiver. | Not foundNo Rotorflight app found. BeastX has StudioX Flow for its own units. |
| Black-box vibration check without a computer | YesNeeds the USB cable. | PartlyVBar, for its own units only. |
| Change settings with the model off, send them later | Yes | Not found |
| Updated through the transmitter | YesWith a Version 2 transmitter. | YesOn some: FrSky ACCESS and VBar. |
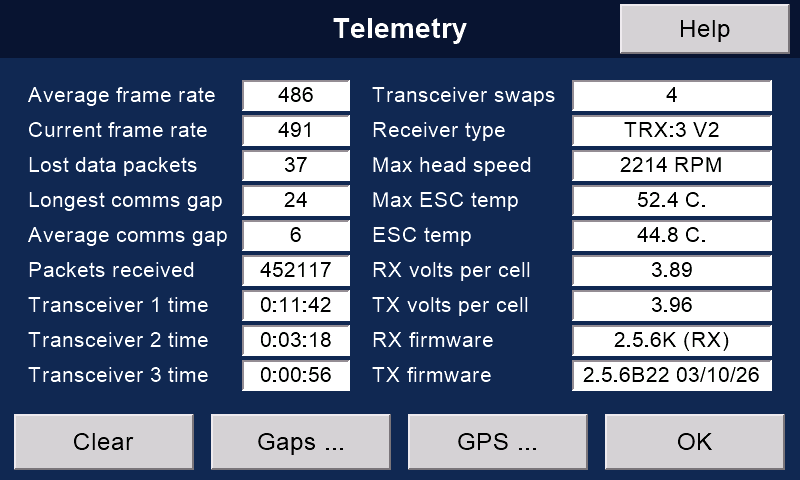
| More than one radio, automatic swap | YesUp to three. Time on each shown on the transmitter. | YesDiversity receivers are common. |
| USB joystick for simulators | YesThe receiver itself. | YesMost radios, or a sim dongle. |
| PWM servo outputs | NoThe Version 1 receiver has up to 11. | Yes |
| GPS, altitude and vario | NoVersion 1 receiver only. | YesWith sensors. |
| Range | Not measured yetMade for line-of-sight club flying. | Long rangeExpressLRS's own figure: over 40 km in clear line of sight. |
| Bands | 2.4 GHz only | 2.4 GHz, and 900 MHz on some |
| Smallest receiver | About 46 × 22 mm (two radios) | ExpressLRS receivers from under half a gram |
| CE-marked radio modules | YesEbyte E01 modules, FCC ID 2ALPH-E01. | Yes |
| Cost | About £35 of parts, plus your time | ExpressLRS receivers from about £11 to £19 (HappyModel EP2, RadioMaster RP1), ready to fly. Some flight controllers have one built in (Nexus-XR, about £70). |
"Not found" means not in the makers' own documents that we read, in October 2026. Tell us if we have missed something.
Still flying, and still supported. Choose it for a model with servos and no flight controller, or for GPS and vario.
| Version 1 receiver | Version 2 receiver | |
|---|---|---|
| Best for | Planes and models with servos | Helicopters and models with a flight controller |
| Brain | Teensy 4.0 | XIAO ESP32-S3 |
| Radios | 1 or 2 | 1, 2 or 3 |
| Outputs | Up to 11 PWM, and SBUS | CRSF, SBUS, IBUS or PPM |
| GPS, altitude, vario | Yes, with sensors | No |
| Phone app and web pages | No | Yes |
| Updates over the air | No | Yes |
| Simulator joystick | No | Yes |
| Rotorflight from a Version 2 transmitter | No | Yes |
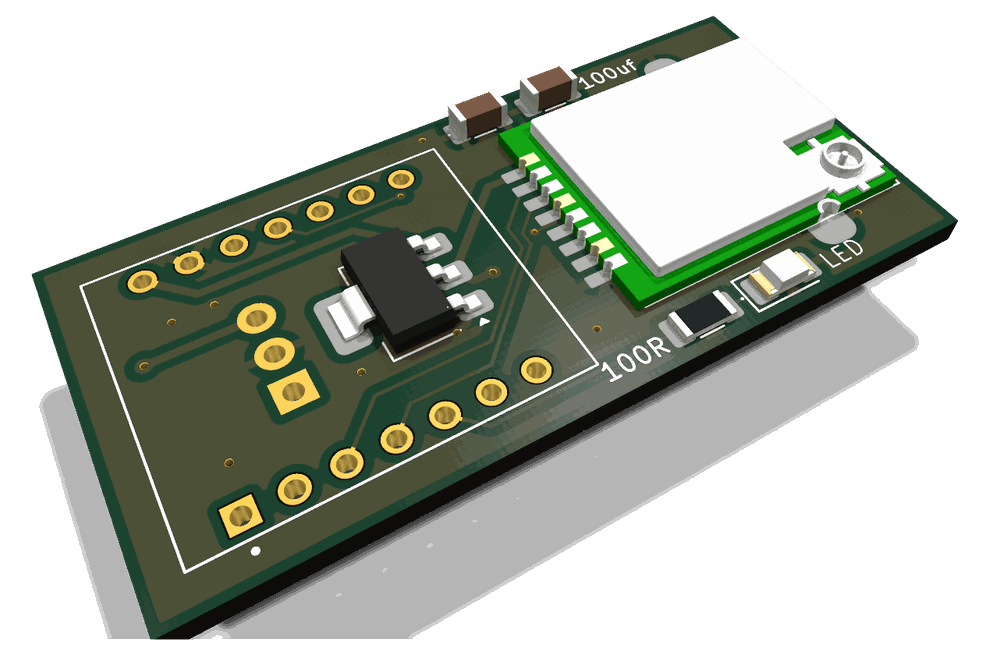
The receiver is a XIAO ESP32-S3, two radio modules, a regulator and a few capacitors on a small two-sided board.

Note
The receiver's circuit board files are being prepared for publishing. Until then, Build one gives the parts and the wiring, so you can wire a receiver by hand.
The printed case is ready now: RXV2/case (STEP files, PETG or PLA).
Questions? Write to Malcolm at mmessiter@gmail.com. He is happy to help.